New Mini Sculptures being sold on the TAH online shop!

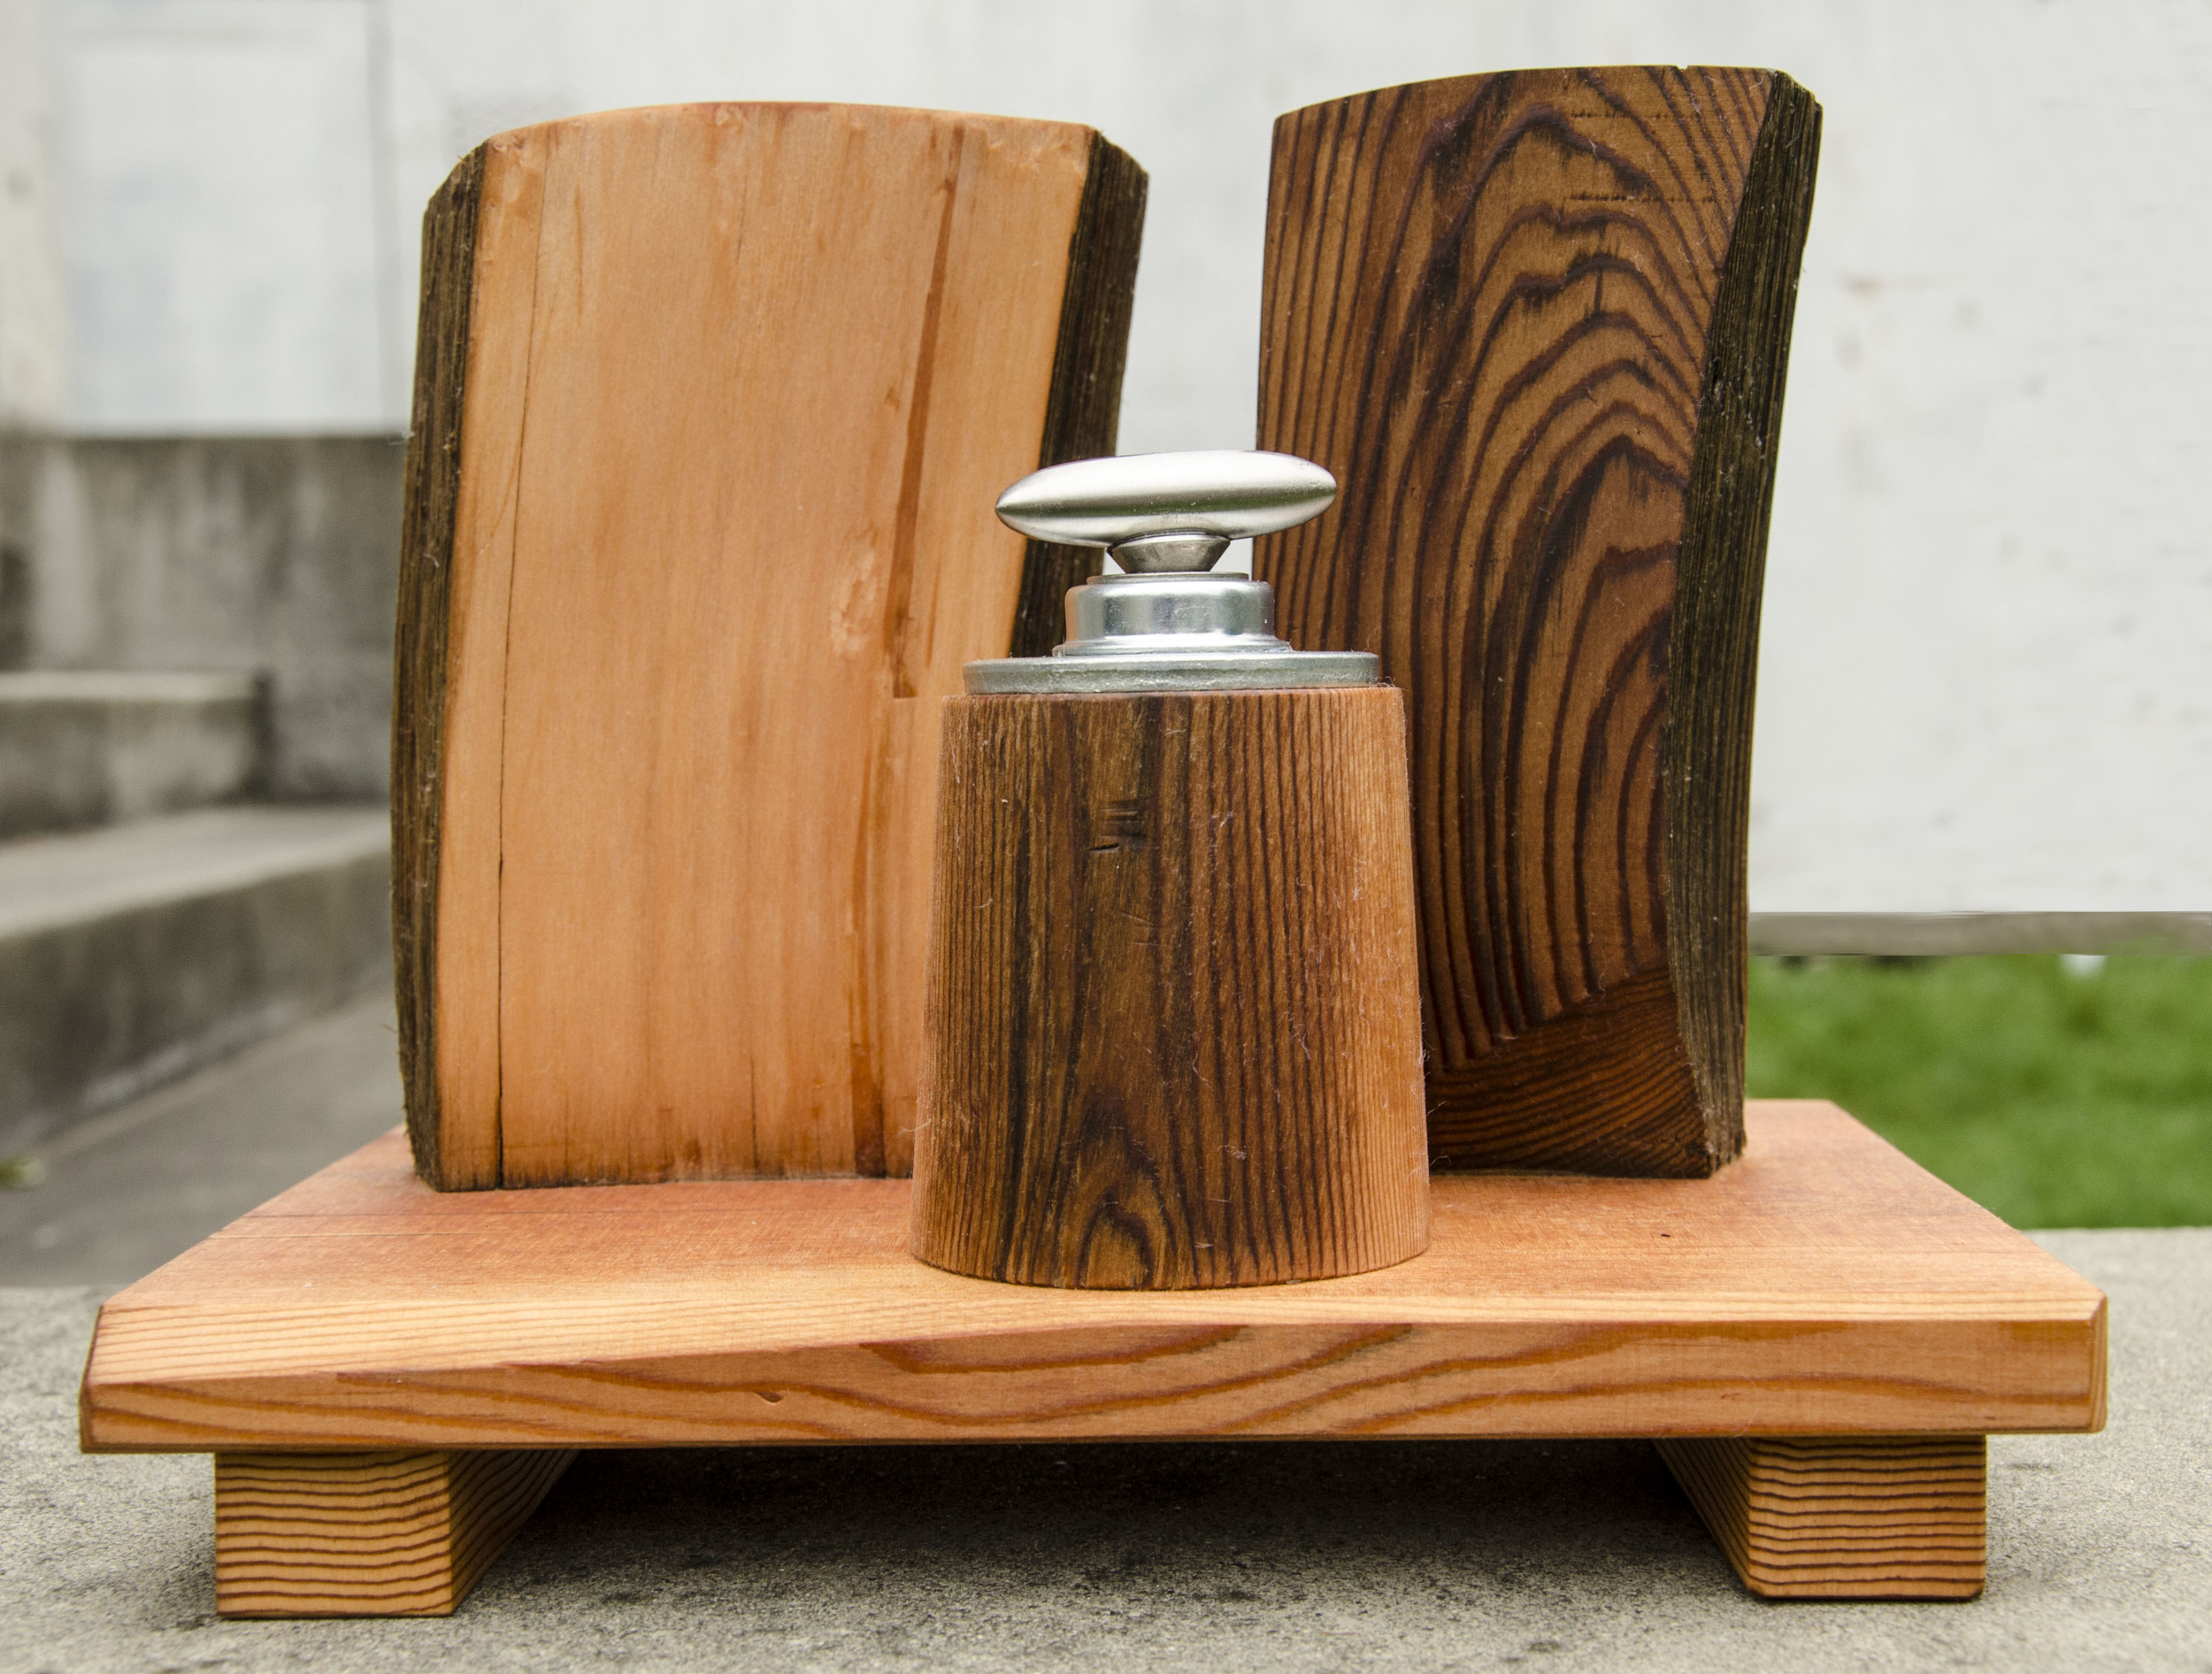
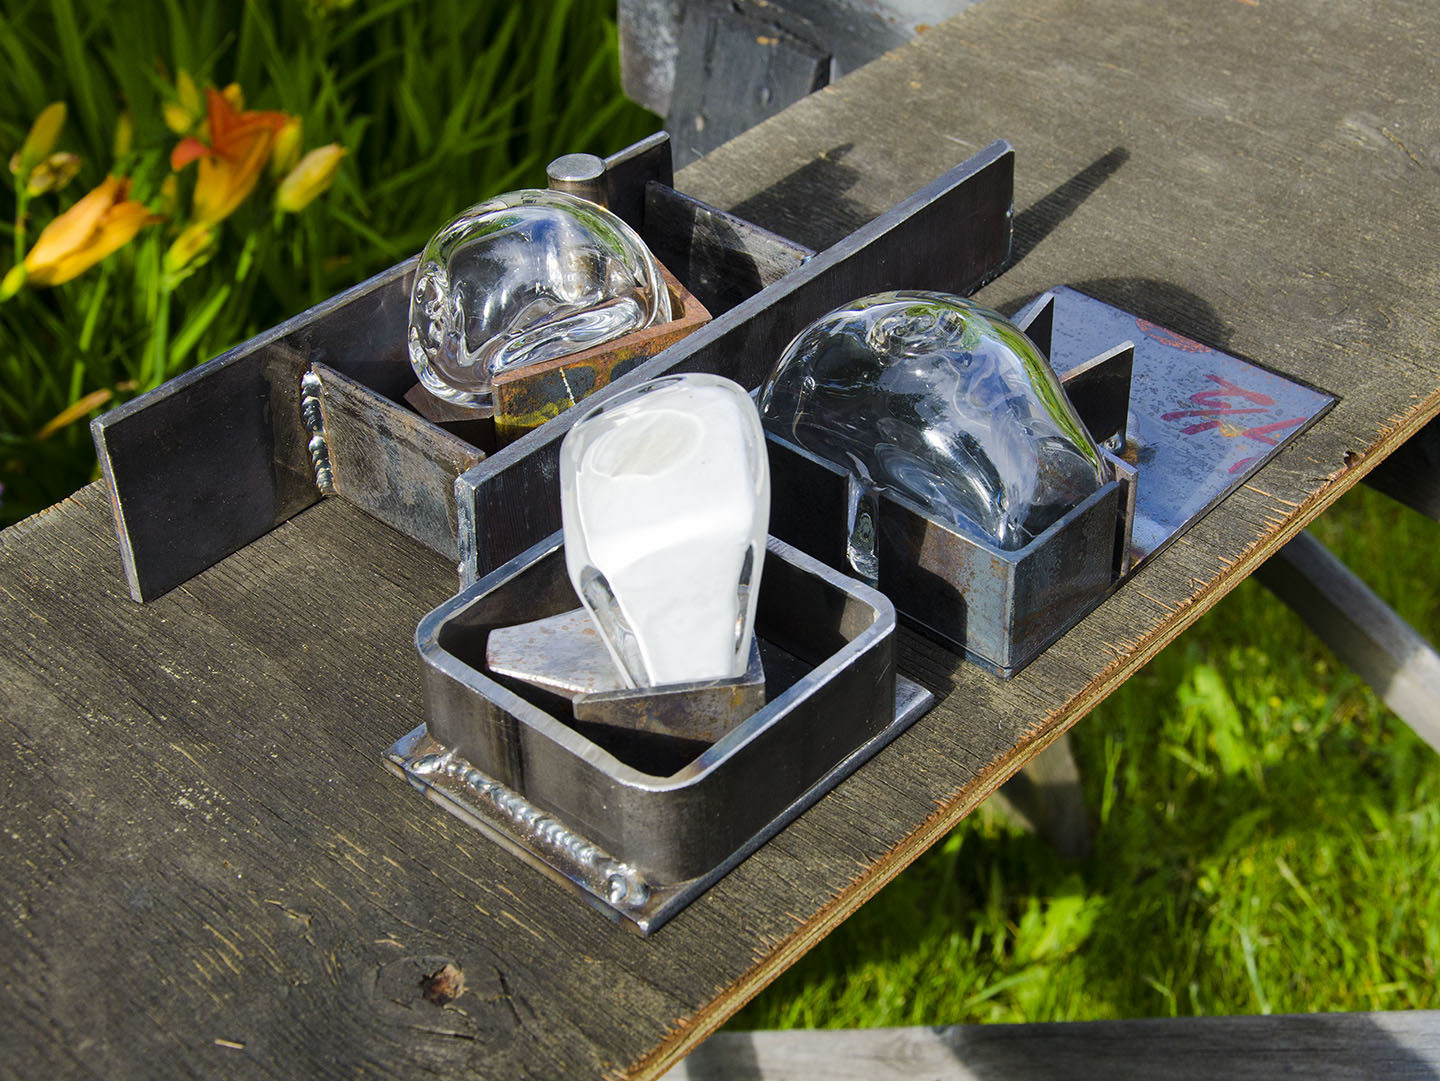
New Mini Sculptures are being sold on the Taylor Art House online shop. This will be a start at on-line sales that have had a great initial soft start and interest.

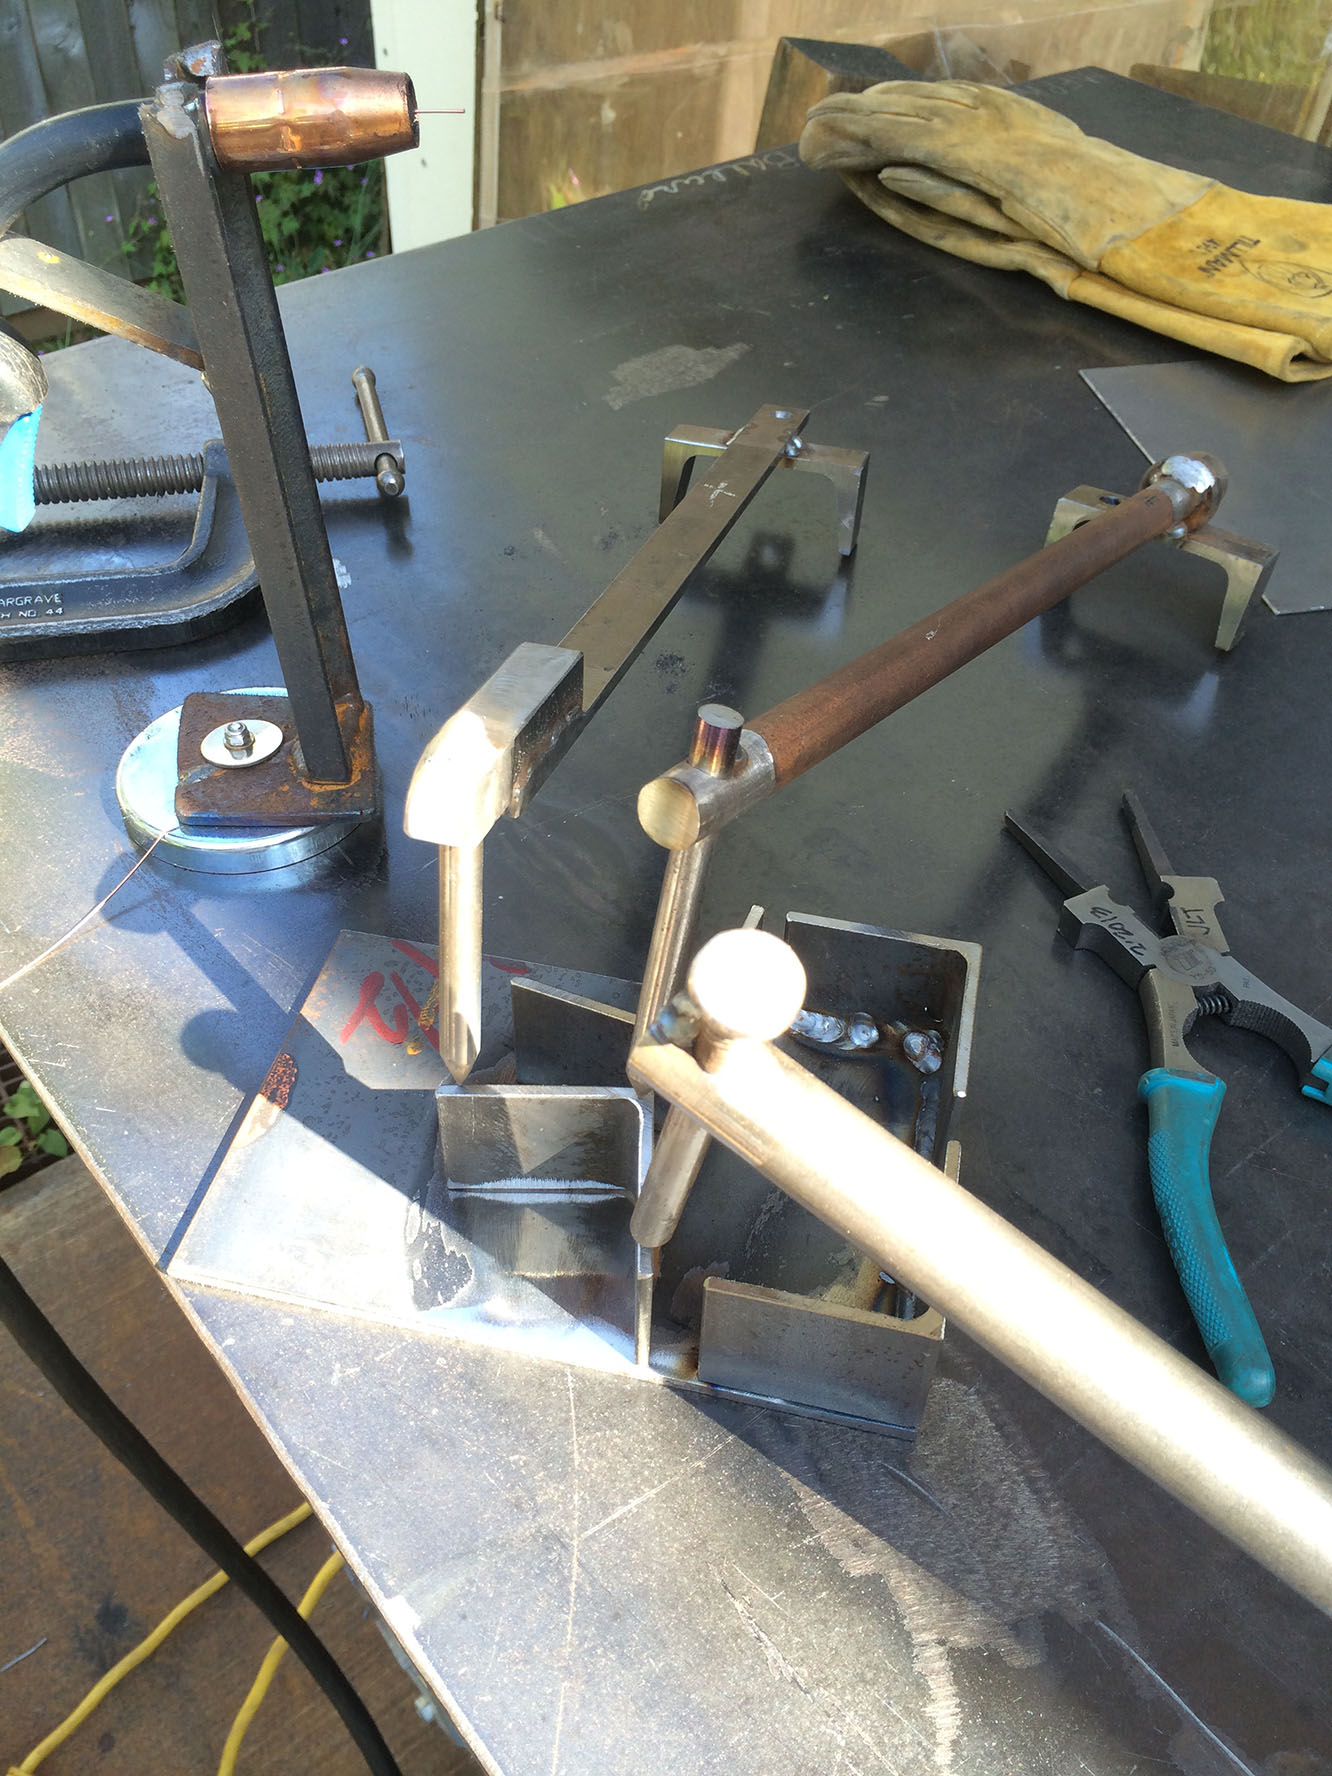
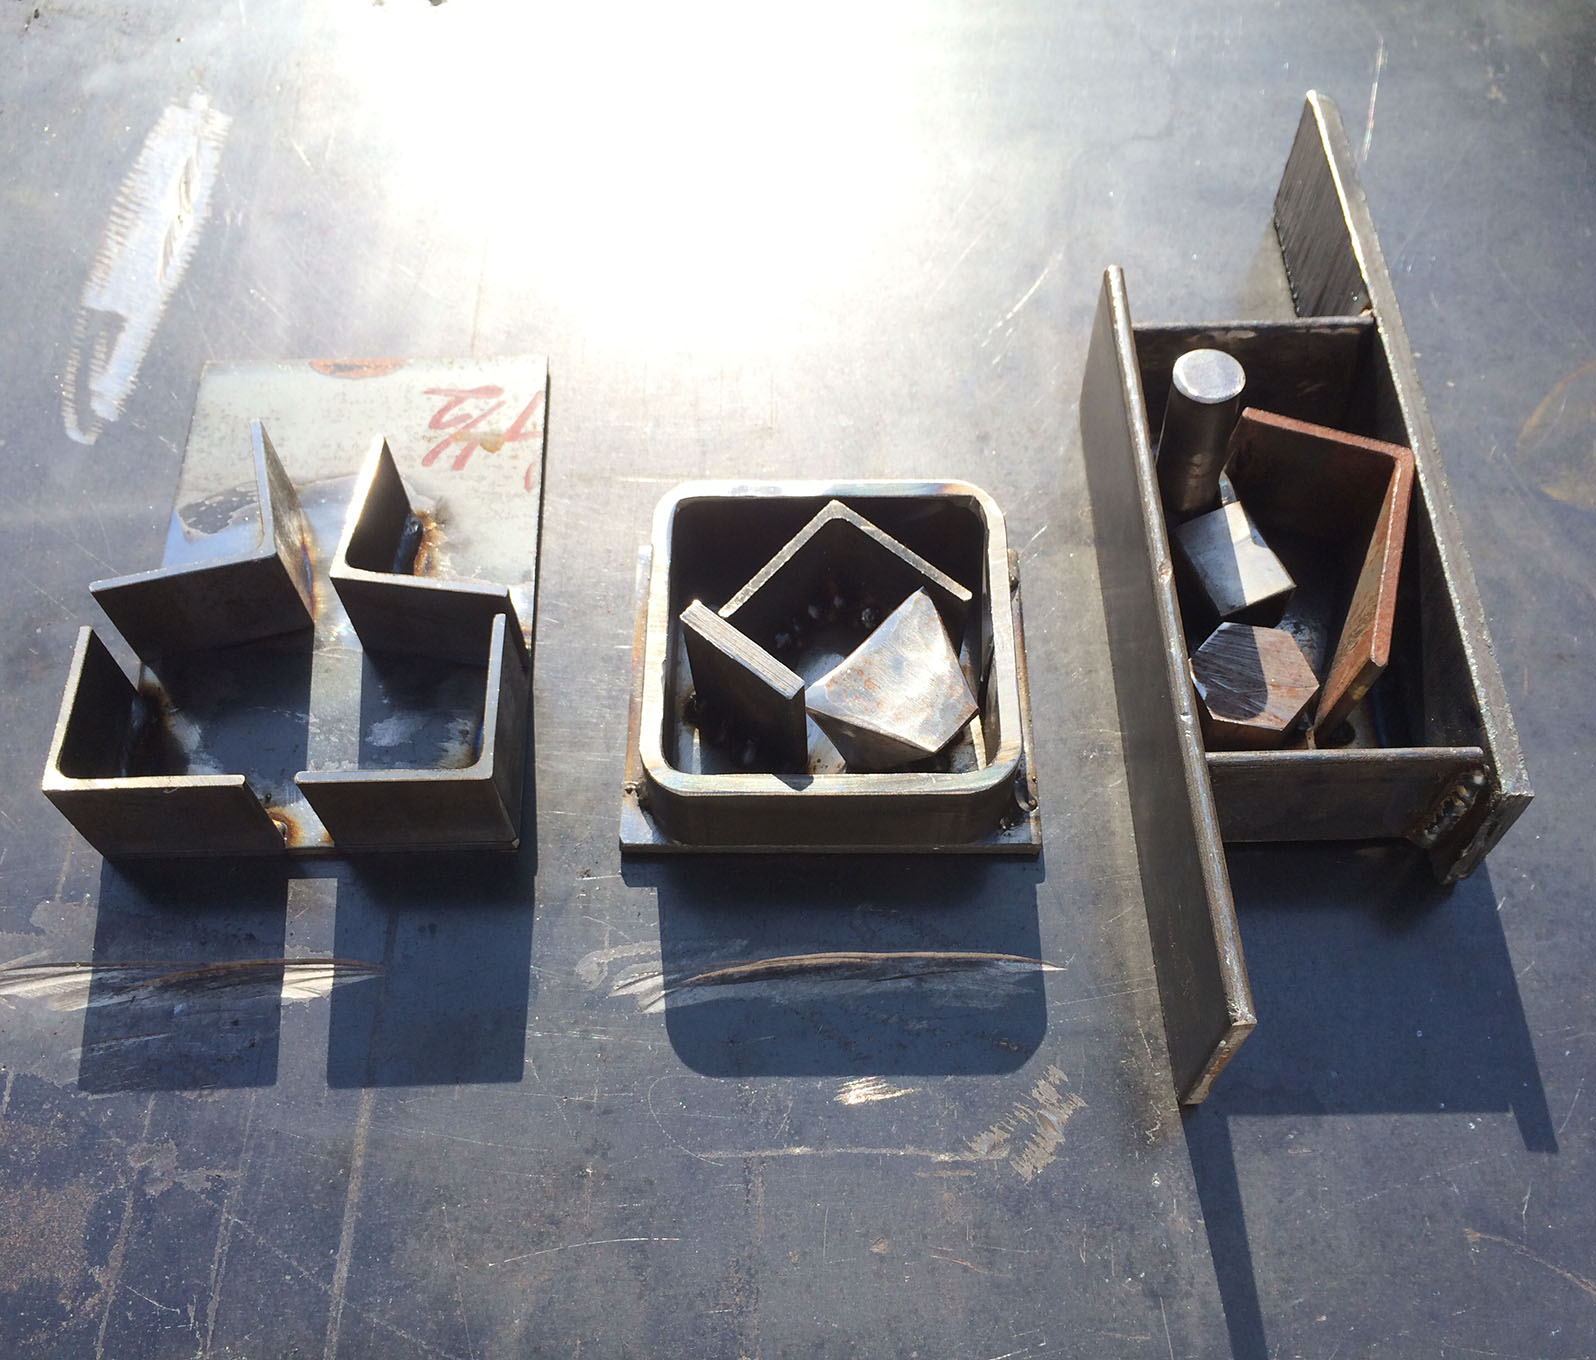
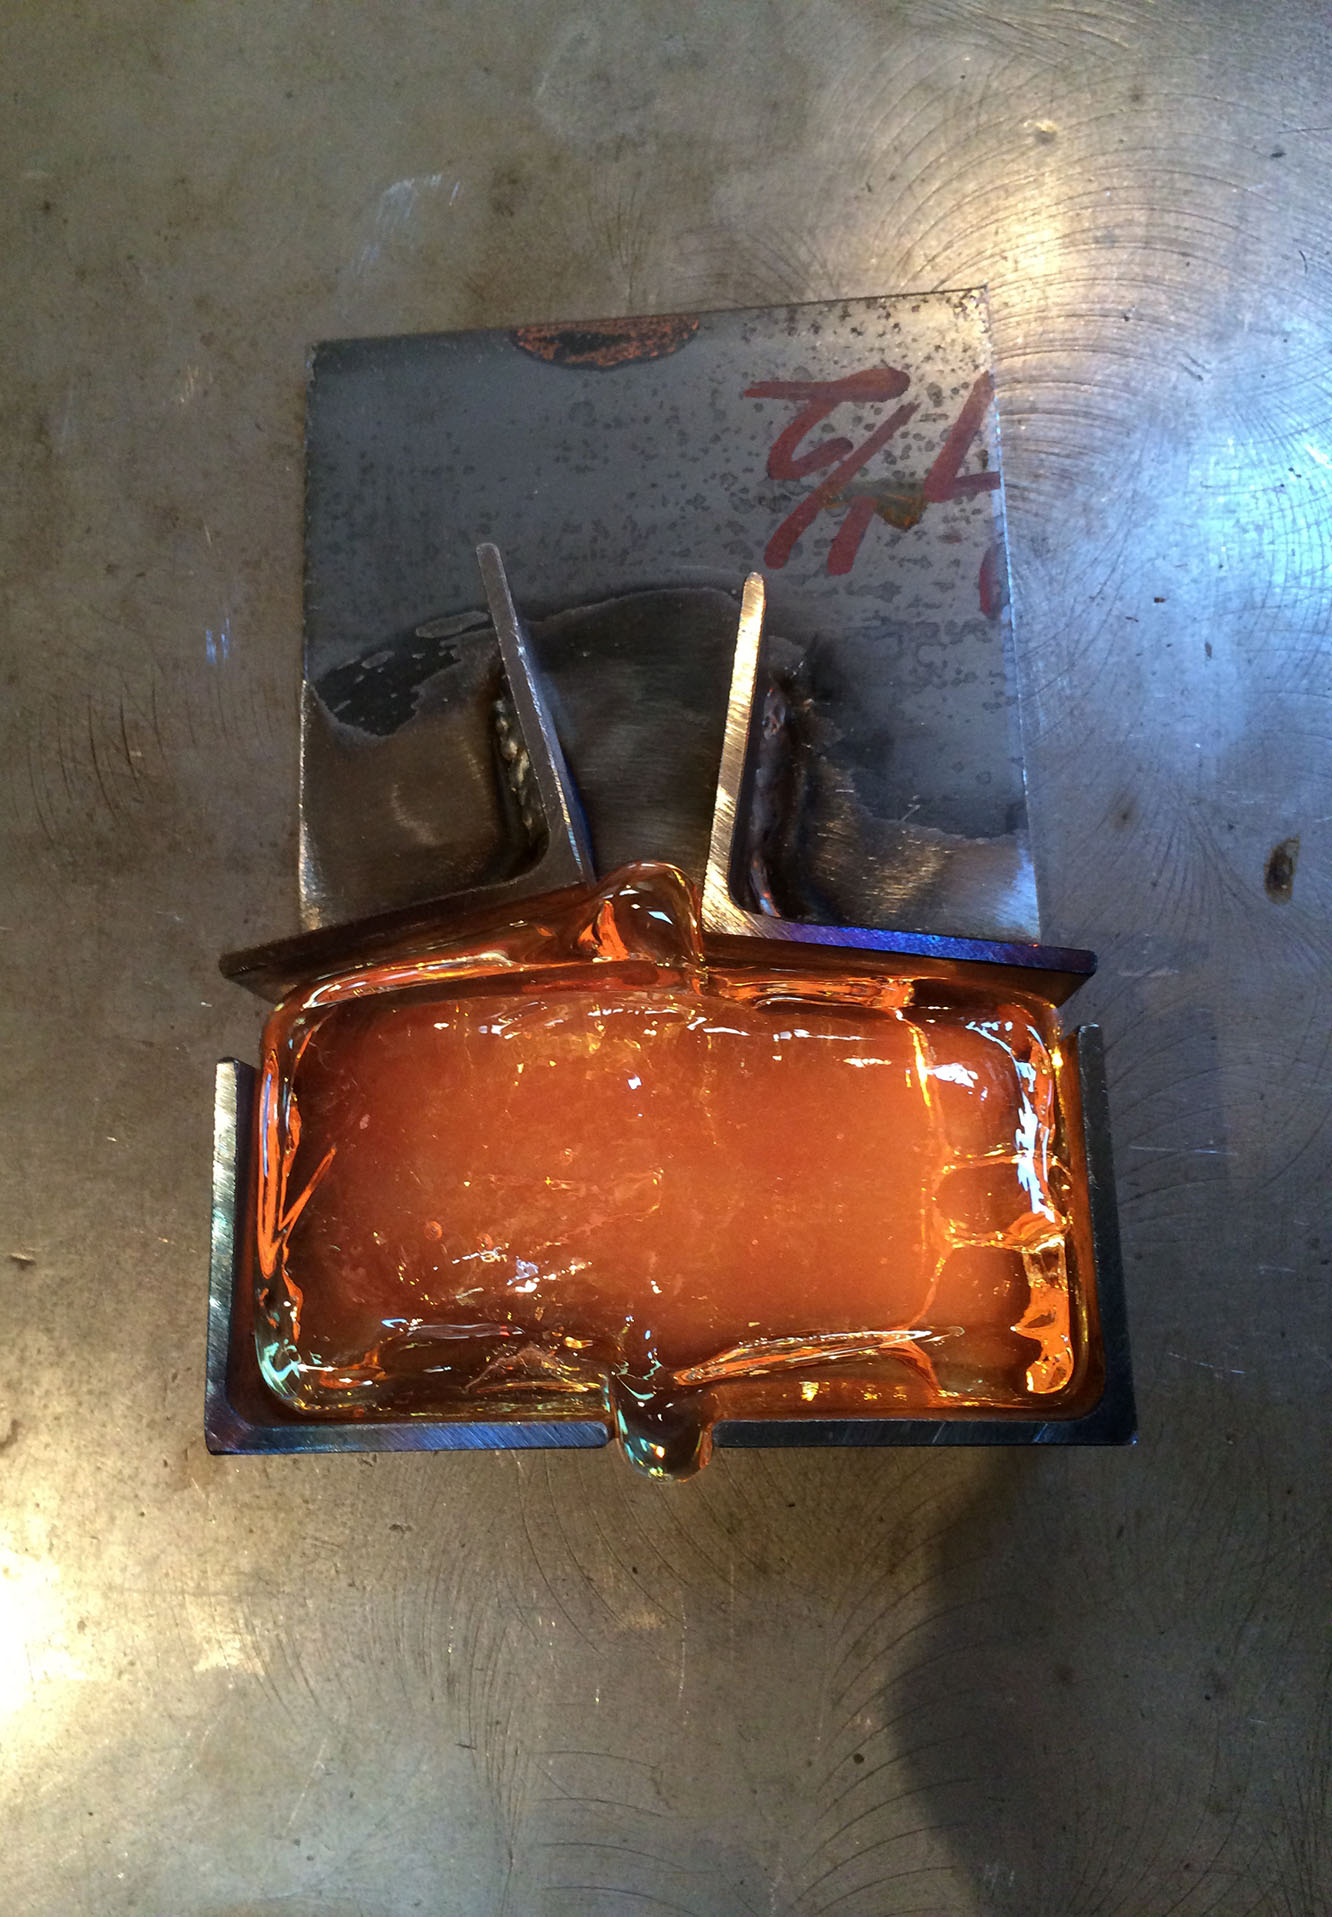
The items are a combination of steel and up-cycled Douglas Fir lumber that is anywhere from 60 to 120 years old gathered from various places and remodeling jobs around Seattle.  The steel is usually purchased from Pacific Industrial Supply and is pretty basic carbon steel.  Several buyers that have not been able to be at openings or other sales venues have asked to have smaller items they can keep for themselves or gift to others before they mature into larger purchases,. Some buyers have a bigger piece and want to have more of a keepsake  for them or loved ones. Hopefully pieces that aren't in other retail areas or shows will show up on this retail site as a temporary store before this website is reconstructed next year.  There will be other posts to describe some of the processes that go into these mini-pieces.

Here are some of the Mini-Sculptures we have for sale:


Ballard Art Walk at Solo Ballard Lofts 8-9-2014

  Come see the exciting Ballard Lofts at Solo, and see some of the following art pieces, Saturday, August 9, 2014 from 6-9 pm at the Solo Lofts Sales Office 2041 NW 57th St., Loft 103, 98107.  See the Solo Blog entry here.


This painting called Modifiers was the inspiration for several stainless steel and wood sculptures prepared for an six month grouping at the West Seattle Gatewood B and B at the beginning of 2014.

The subjects are publicly viewed and visited large utility structures imagined to purify air. They are made like nuclear cooling towers, but have some suspended lozenge that changes the molecular structure of the atmosphere for the better.

The painting is on a custom wood panel with an acrylic gesso base.  The lines are drawn and drafted with graphite and painted over many times with acrylic paint and gesso, then finished with a variety of sheens of gels.


18" x 24" Acrylic and graphite on wood panel.


The sculptures depict industrial - public - probably rural in nature and could be anything, but all have peaceful scientific roots,  with interpretive centers and docents to take groups through the facilities to have the public know where and how their tax dollars are being spent for peaceful, scientific and community enhancement.  Any of the pieces conjure a site and specific action and/or industry and often gather energy form the sky, ground or cosmic rays and refocus or disperse the energy.


Cedar Duo

Base and runners from Douglas Fir, "machine" base and "buildings" from cedar, turned on a lathe or cleaved from thick chunks of cedar scrap then glued to base. Cone shape was top drilled to take turning stainless steel lozenge , lozenge seat and roller bearing assembly were epoxied into the hole. This lozenge actually turns 360 degrees . Most wood milling is preformed by a 12 inch stationary disk sander. 7.25 x 10.125 x 8.25h inches. One of the least controversial energy/environmental advancement projects run transparently by a consortium of scientific universities around the globe.


See the Wood page for more sculptures and comments here.

Hot Glass in Steel Vessels

  These started out as an idea that the glass and steel would be annealed together and be as one, but the experts at Seattle Glassblowing said it would not work because of the incompatibility of thermal expansions of the materials. We used the steel structures as base forms and then either poured thick glass or blew shapes that could be removed.  These glass pieces were then annealed and will be joined into the steel structures.


A couple of these pieces will be on display with a couple of framed photographs of the 8x10 film factory sculpture for the

INSIDE - Art by Architects show from July 8 - August 22, 2014 at the:


AIA  Gallery AIA Seattle 1911 First Avenue Seattle, WA 98101 Tu-Fr 10-5

There will also be an opening for the show Friday July 11, 2014 from 5-7pm

http://www.aiaseattle.org/node/8909


This first image is showing final piece to be welded held with steel fingers:

steel glass welding small

This image shows the three welded vessels:

steel glass three vessels small

After molten glass is loaded into the steel vessel:


hot glass in steel small

Here is the punti being formed to pick up glass out of vessel:

punti for hot glass small

Punti pulling glass out of vessel:

punti pulling glass small

Glass set into vessels, almost done - glass will be adhered to vessels, some vessels may be partially painted:

Steel glass sculpture 2 Small 6-9-2014

Gatewood B an B Second Thursday continues

Jon Taylor at Gatewood B and B West Seattle Second Thursday Art Walk 

May 8, and June 12, 2014


Come by this Thursday between 6 and 9pm to see Jon Taylor’s paintings, acrylic resin, welded steel and wood/stainless steel sculptures.

Sara Barton has put the extra effort into the Gatewood B and B in West Seattle to invite several artists to hang their work for sale as well as graciously opening up the second and third floors to display the artwork prominently in the sky lit upper lobby and some of the rooms.

There is always a nice spread of food and a welcoming by Sarah to show off the B and B and the art on Second Thursdays.


If you want to see the art on other days and and you want me to walk you through, please call me at 206-612-9863 to set up an appointment,  or you can call Sarah at 206-938-3482 to drop by at the  Gatewood B and B to view the the art next time you are in West Seattle.


Come see this great family run B and B and enjoy the art this Second Thursday May 8, 2014 and June 12, 2014 from 6-9pm.


The Gatewood Bed and Breakfast

7446 Gatewood Rd SW
Seattle, Washington, 98136, United States
206-938-3482
Gatewood Art 2014

8x10 camera and factory sculpture from film

  Last term at the Certificate for Photography program at University of Washington, I constructed a 4x5 box camera thinking I would make it for a pinhole, I did make it and made a shutter out of a floppy disk which you can see in previous posts. One of the projects I made from the film after making drawings for all sides of a factory was to develop the film and without enlarging it onto paper, cut the film into shapes and make an "architectural" model out of the film adhering the sides and clerestories with scotch tape.  The 4x5 factory was a bit small and an 8x10 film camera would make a bigger sculpture from it's negative, so a new camera was built, originally designed for a pinhole lens, but made flexible to take any Horseman or Sinar lens board.  The camera had set a focal length of a little over a meter and used a 210mm lens and lens board from a Horseman 4x5 view camera.  On an 8x10 camera a 210mm lens is a bit wide, so so the drawings to be photographed were enlarged  to fill the negative.  Instead of hand drawing the elevations were constructed them in Google's SketchUp drawing program, printed at 11x17 and then about doubled on an enlarging copier.  The pages were taped together to get a subject big enough to fill the image on the film.  Color corrected compact fluorescent bulbs in two studio lights with reflectors and scrims were used to flatten out the light.  After some sloppy developing (two of the negatives dislodged in the developing tank and blocked a lot of the chemicals for another two negatives, so they were faint) the negatives were dried and then cut out and made into the factory sculpture out of the film.  The sculpture was placed upstairs in the study window and shot digitally south to Lake Union, Downtown Seattle and the Space Needle.  The RAW files were manipulated in Photoshop and made a couple of great prints.


Simply stated, an economical scratch-built 8x10 camera box was built with a fixed focal length, a 210mm lens and a double sided 8x10 film holder were attached to the front and back of the camera, a set of sides were drawn electronically for factory shapes, the enlarged factory drawings were shot on film with the 8 x 10 camera, the film was chemically processed, the film was washed and dried then cut out to be joined with scotch tape, then the sculpture was digitally shot and the RAW files were manipulated in Photoshop and printed on the University's high-end Epson archival inkjet printers.


Seems so simple, doesn't it?

[portfolio_slideshow pagerstyle=thumbs pagerpos=topfluid=true class=pager-right paperwidth=180]

New sculpture tool and cart

  Taylor Art House has acquired a new tool for joining steel, a Miller 211 MIG Welder.  My neighbor down the street let me borrow his suitcase MIG welder for several months last year, gave me a hour of lessons, showed me how to set up the shielding gas, how to prepare steel for welding and then how to  "hot glue" pieces of steel.  I got so enamored with the process, I bought my own and hope to have some pieces for the PUP show at Phinney Center Gallery in April 2013. Included are photos of a SketchUp model of a welding cart, the MIG welder and cart pieces read to weld.

[portfolio_slideshow pagerstyle=thumbs=topfluid=true class=pager-right paperwidth=180]


8 x 10 camera build - design and parts

  Taking the Winter quarter of the Certificate for Photography class taught by Carla Fraga and David Johnson at the University of Washington requires an end of term presentation of your quarter's project.  I stated that I would build a large camera to get large negatives shot of images of architectural drawings that would be scanned then inverted to "negative" readings in Photoshop, making more or less "positive " images on the film negatives. The film would be cut and taped or adhered to build sculptures similar to architectural models and then the objects would be digitally shot in front of landscapes whether they be rural, suburban or urban.  The camera in this sketch is based on a fixed focal length lens with a fixed focal length from the lens to the film plane (no focus adjustment). The camera is designed to have  lens boards traded out. An additional lens board will have a brass sheet drilled and sanded pinhole lens of the same focal length of 210 mm or approximately 8.3 inches.  Too much information? Not to worry there is more, but first a design drawing that was started December 15, 2012 and has had at least two other additions of drawings and ideas from January 18 and 20th of 2013.


Here is a comparison of film holders to get a feeling of the scale of the 8 x 10 negative. The smallest is a recently purchased 3.25 x 4.25 inch Fidelity film holder, possibly from the 1940s or 50s.   A set of two were purchased. These were basically unused made from aluminum, sheet metal, wood and an anti-static black plastic material for the dark slides. They are from a seller on eBay and had the original box and marketing flyer.  These were attained because someone gifted me a box of Kodak electron microscope film slightly past its expiration date.  A new camera will be built around these film holders and a variety of lens and pinholes.  The next is the 4 x 5 inch negative holder, the most common used for the Taylor Art House film based photographic explorations.  The last film holder is the 8 x 10. To the left of the 8 x 10 film holder is a start in pine and epoxy of the camera back being constructed for the new camera to hold the film holder.  More postings will arrive as construction progresses.


Sewn sIlver based photographs

  Here are some images taken in low light of pre-developed parts of photographic contact sheets or instant film prints mechanically sewn over undeveloped photographic paper. Some of the pieces have been deformed at the top and fastened with the sewing to hold that shape to make funnels in some instances and some of the shapes have paper punch holes to allow developer to flow through the "funnel" or pieces that abstractly develop the new image exposed on the paper. If the developer doesn't touch the paper what is left is white.  Many of the final prints have a background image of the water south of the southern overlook of Gasworks park.


The sewing is done in a bathroom with the window and door edges blacked out. A red darkroom light is the only bulb illuminating the room.


Cut up pieces of exposed photographic paper are sewn on to an unexposed 8 x 10 piece of photographic paper.  These sewn composites are put into a "dark" box and taken to a full darkroom with film processing area and enlarger developing room. A negative is put into an enlarger and the image focused on to a test piece of paper, the composites are taken out one at a time, exposed with the image then taken over to the developing tray. The exposed composite is held above the bath and the developer is poured with a beaker over the print held at an angle.  The developer is poured over the sewn pieces directing the flow of the development to produce the best final indication of the history of the flow and creating the best  image.  Sometimes the developer is applied over previous pours to get overlapped darker grays and blacks.  Note the flow of the chemicals around paper edges, sewn threads and through paper punched holes.  Some of the earlier images with cut up smaller contact sheet images have white lines where the exposures were blocked by threads. These composites have been modified in a post developing stage and tacked with zig-zag sewing to pull the thread away from the white lines.  The two factory composites have many sewn line marks to further define the outlines of factories and structure below the implied waterline as if they are sitting in moats recalling paintings of factories from earlier this year.


Many of these photos were accepted for the Blue Sky's Pacific Northwest Viewing Drawers in Portland, Oregon, juried selection 2013.


[portfolio_slideshow pagerstyle=thumbs pagerpos=top fluid=true class=pager-right pagerwidth=420]

Factory Film Sculpture Prototype

  While taking the Certificate for Photography Program at the University of Washington this term, I was in the darkroom as much as possible.  I would do my own film developing at home for my 4x5 negatives then take them to the Art Building darkroom to do contact prints and enlarging on photographic paper.

I decided for the last critique of the class I would do some architectural /art drawings based on the factory paintings and sculptures I did earlier this year. I scanned the Sumi/watercolor/ink drawings and inverted them in Photoshop then inkjet printed them.  Lights and camera were set up and the inkjets were pinned to a wall, the negatives were developed and dried then cutout with a sharp hobby knife.  This prototype was taped together with a couple of different Scotch tapes.  Not sure what the next batch is going to be, but I think I will shoot the next negatives in a n 8x10 format. Fun!


[portfolio_slideshow pagerstyle=thumbs pagerpos=top fluid=true class=pager-right pagerwidth=520]

Sculpture becomes Spacecraft

  I have given myself a goal of making 12 new sculptures by the end of the year.  Most are less than 100 square inches varying in height from a couple of inches to around ten inches.  Most are made of steel plate, used steel tools and formed pieces like angles and channels that are joined by MIG welding.  Added to some sculptures will be wood or pieces of acrylic.  The wood and acrylic may be adhered to the steel with screws or rivets or epoxy. A couple like the one below as no steel, just wood and acrylic resin.

This piece is a composite of 2 x 4 scraps - one kept silver from weathering - with added scraps of poured acrylic resin, dowels, and bamboo.  I really didn't have an idea of what it was going to be, I was just creating from scrap and constantly testing component forming on a band saw and disc sander and drilling dowels for the legs then checking composition of elements on top and adding bamboo antennae or feelers.


A friend of mine, Kim Krech had seen some of these at a party and was curious about them.  I told her I had made up a story about one of them, the piece pictured below.   She asked if I could come by Bellevue Community College and talk about this and other sculptures and architectural models in the context of concepts to her design students who are trying their hand at early idea models. I agreed I would.  More posts on the progress of the dozen sculptures will come in the following months.  Double click on the image below for a larger view.